
Alot of people have seen the light in terms of using a PiHole as private DNS server at their home in order to achieve two things.
- Avoid ads on websites, in games etc.
- Avoid trackers on your phone, smart tv, computer, IoT and so forth.
This is all nice and dandy when you are at home, but as soon as you leave the house and safety of your own private network, you no longer have connection to the PiHole and have to rely on your carrier DNS or other wireless networks you connect to. When you are using
There is two methods for using your private DNS while on the road.
- Use VPN to connect to your home network
- Allow DNS directly to your home network.
There are several considerations to take with both, which I will not cover. Instead I will show option 2 and assume you already have a running PiHole.
On your android phone you have the option of adding a secure DNS server. This is per default using port 853 as it is DNS-over-TLS. You cannot (sadly) change the default port. Your phone will always enforce port 853.
I’ve tried to add certs and other config to PiHole but gave up and looked for an easier method. I found this by using stunnnel. Now, stunnel is “just” a proxy application which can add TLS functionality to application which normally don’t support it.
stunnel
I assume you are running your PiHole on a Raspberry Pie or similar. The installation is quite simple.
# apt-get install stunnelNow create a sample config
# cp /usr/share/doc/stunnel4/examples/stunnel.conf-sample /etc/stunnel/dns.conf
# vim /etc/stunnel/dns.conf
Find a place to add the following lines:
[dnstls]
accept  = 853
connect = 127.0.0.1:53
cert = /etc/letsencrypt/live/[your location]/fullchain.pem
key = /etc/letsencrypt/live/[your location]/privkey.pem
The above lines will forward connections from port 853 to localhost port 53 using the specified certificate. In my case I have used letsencrypt, and one very important note here, is that the certificates are read when stunnel starts up. So if you are using letsencrypt you should restart stunnel at least once a week which can be done using crontab with the command:
systemctl restart stunnel4.serviceAndroid
To setup your phone to use the DNS is quite simple. Just go to network settings and look for private DNS option. Beware that this is not a wifi setting but a general network setting.
My apologies for screenshots being in Danish but I didn’t have time to change to English.
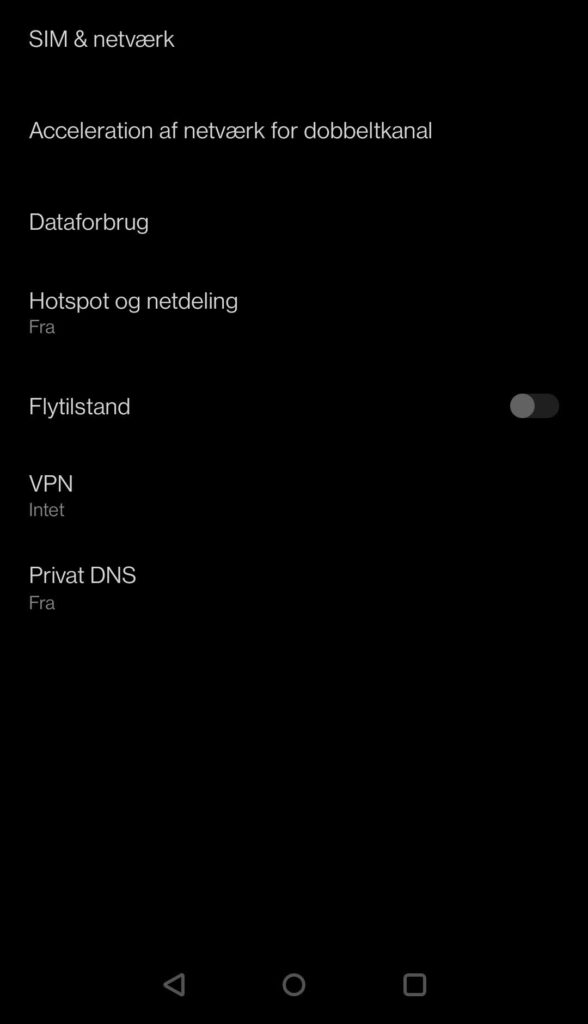
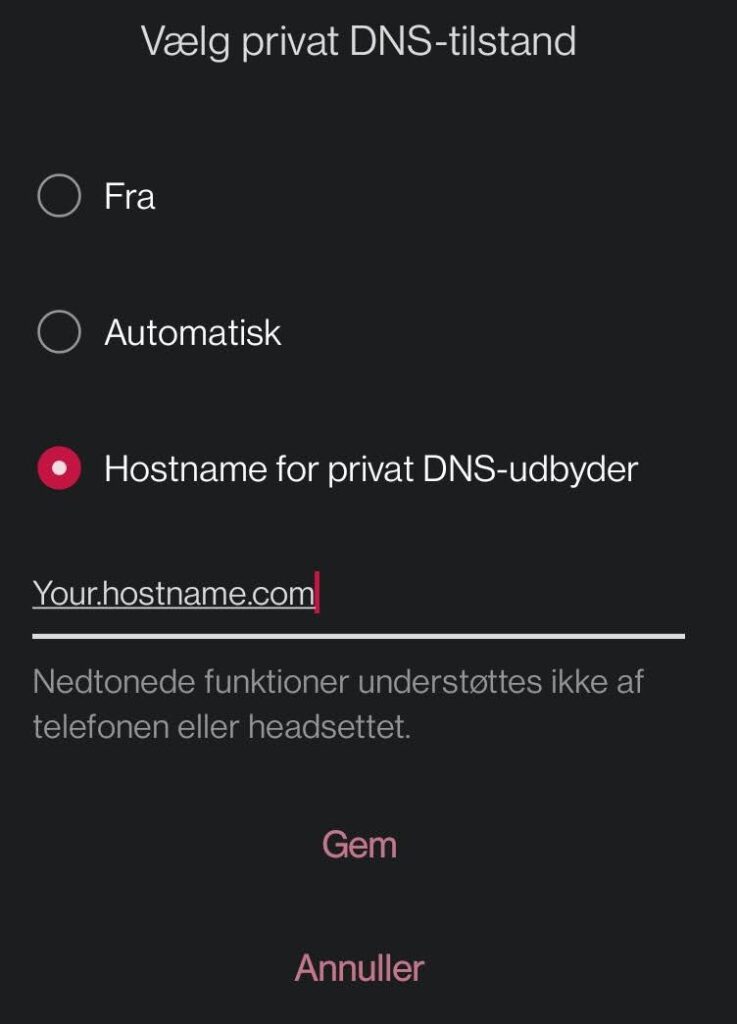
Select the option for hostname for private DNS. As far as i know you can also add an IP instead if you don’t have a hostname to use.
That’s it.
There are a few things you should note. This only works as intended if you are on a network which allows using port 853. Your average mobile carrier would allow this, and so would most wifi networks.
In case you come in contact with a network that does not allow it, Android will notify you of it, and you can go to the above menu and select off.
There is also an “automatic” option, but I can’t really seem to figure out the use of it. If anyone has some solid knowledge, please let me know.