In a previous post i describe how to move your domain to Cloudflare because my previous domain parking/administration took a turn where I was not willing to follow. In this post I will describe what you should be aware of when using Cloudflare. I will try to split it up in two elements, securing your domain and securing you server.
Securing your domain
Depending on your view on a domain definition, there are several ways to secure it. The fact that the domain is yours and it’s placed at Cloudflare is not covered in security, since the ownership should not be disputed. But what IS important is how secure other people think your domain is.
One of the aspects is email. On the domain you can setup DKIM, SPF, DMARC and so forth. I will not describe this, but if you have O365 you can head over to a friend of mine and see his post on the subject.
DNSSEC
I will not describe what DNSSEC is in details, but simplified it’s a method to ensure that the users/clients get the correct response when resolving your domain and not an attackers response. You can read a bit more here.
If Cloudflare is the registrar of your domain there’s nothing to it. Simply head over to the DNS section of your domain and hit the button.
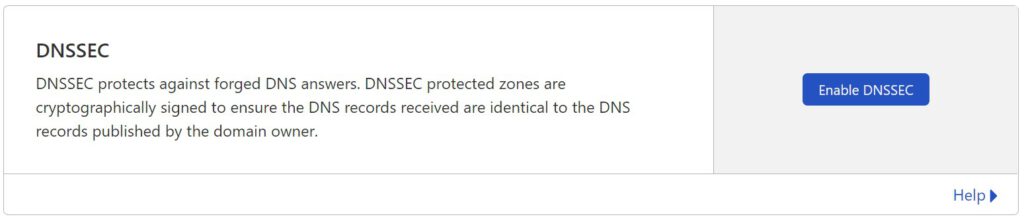
Now, if you have a .dk domain, it’s not quite as simple – but almost. You still need to hist the same button which will present you with a lot of information that may seem overwhelming. I’ll cover the automatic method, which mean you just press confirm and forget about what you saw.
To make it work, your domain needs to be configured with DNSSEC at dk-hostmaster aswell. This is how you do it.
1. Log in at https://selvbetjening.dk-hostmaster.dk/
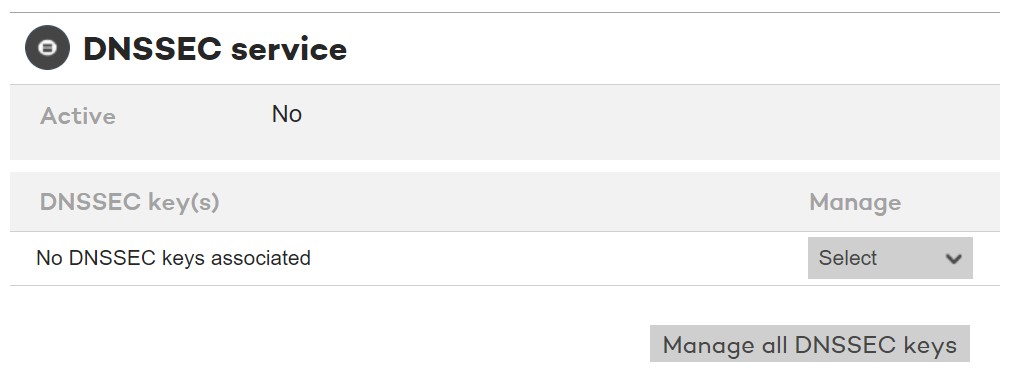
2. Select the domain you want to enable DNSSEC at.
3. Click on the “Select” dropdown and and select the import option.
4. What they will do now, is to contact Cloudflare and discover the key(s) that Cloudflare has in play for your domain. It will most likely look like this:
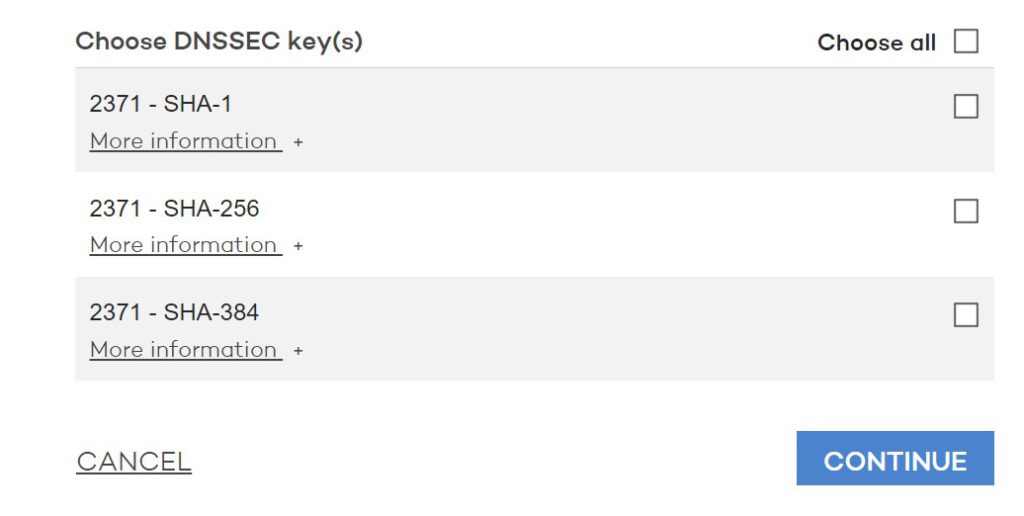
5. Here’s an important step. You should only select SHA-256 and SHA-384. SHA-1 has some security issues which mean you should not select it as a valid key. Press continue a few times and you are all set. It might take a few hours before everything is looking correct at Cloudflare.
SSL communication
You most likely know about that little lock that is shown in the address bar in your browser indicating that the communication between you and the server is secure and no-one is listening. If you still see that padlock after migrating to Cloudflare and using the proxy feature, you may thing everything is fine.
It may NOT be fine….
I can’t say for sure why, but for some reason the SSL setting is not always the same when adding domains to Cloudflare. The worst case I have experienced is this.
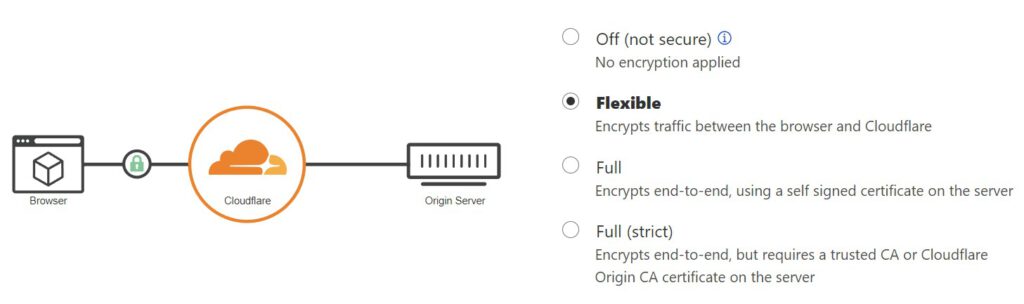
As described, Cloudflare will also accept selfsigned certificates on the server – which in reality means I can setup a server as MITM (Man in the middle) attack, and no-one is the wiser.
The final option is the Full (strict), and this is where the SSL communication is really secure. This option tells Cloudflare that they should only accept communication with a server who has a certificate issued by a valid CA (Certificate Authority) e.g. DigiCert, VeriSign etc. If you have such a certificate, enable the option and be more secure.
If you do not have a valid certificate (or want to save some money) there’s room for that also in the next section.
Server certificates
There are two things I hate about certificates.
- They are expensive
- I can never remember how to renew/replace or just in general, work with them.
Above list is not numbered since I’m unsure which one bother me the most.
If you are using the proxy feature at Cloudflare, you can (almost) remove both of the above. Cloudflare give you the option of generating certificate issued by themselves. The downside, is that they are only accepted via Cloudflare. The upside is that you can generate the certificates you need and they are valid for 15 years which means you will most likely only need to add them to your server once.

